THE BLACK COUNTRY LIVE STEAMERS
Copyright © Black Country Live Steamers
The content (content being images, text, sound and video files, programs and scripts) of this website is copyright © The Black Country Live Steamers. All rights expressly reserved


BLACK COUNTRY LIVE STEAMERS
BRIAN ABBOTT’S WORKSHOP PHOTO'S
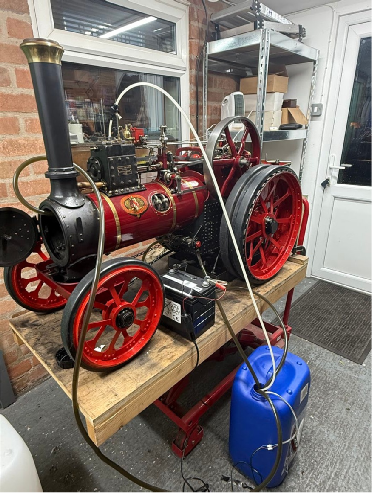
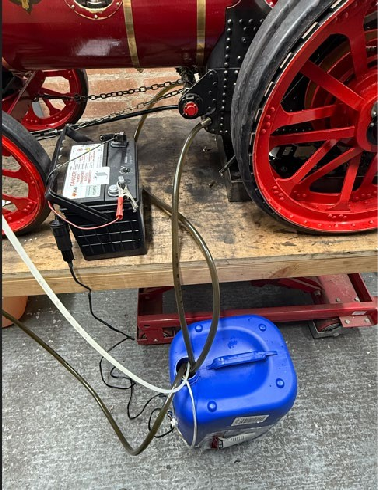
I started proceedings with a good clean using a product called ‘Dynamic Descaler’ as supplied by Heritage steam supplies.
I setup the pipe work in such a way to allow the solution to be pumped around the boiler and based on the colour passing through the pipes it clearly shifted something.
Once this process was complete, I continued to run clean water through, I later found out that I should have used something to neutralize the descaling acid, baking soda I believe.
|
Removing the existing tubes
|
|
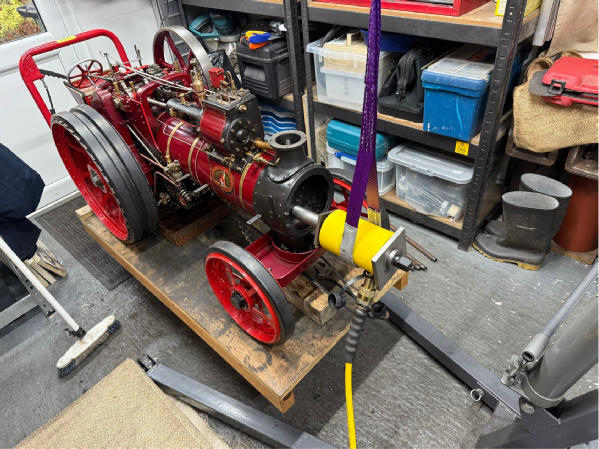
Pulling the tubes turned out to be a straightforward process.Having bought something called a ‘Jenny Spear’ which screws into the end of the tube, together with a hollow hydraulic cylinder I continued to pull each one out ( thank you to Michael Malpass for this tip )
|
|
|
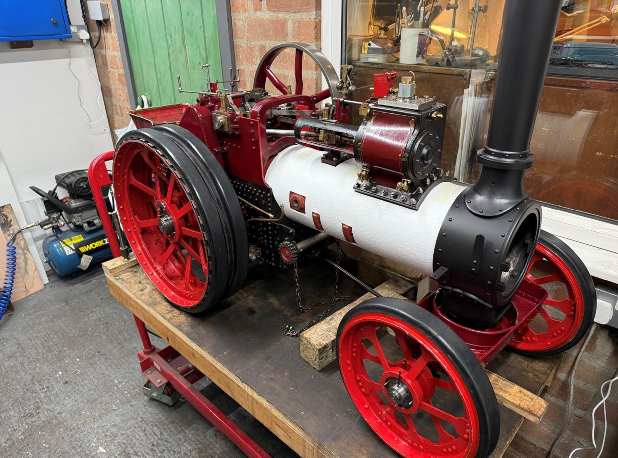
I removed the chimney for safe keeping out the way,Note the use of an engine crane and sling to carry the weight of the cylinder as it gets heavy after a while.
One by one the tube came out
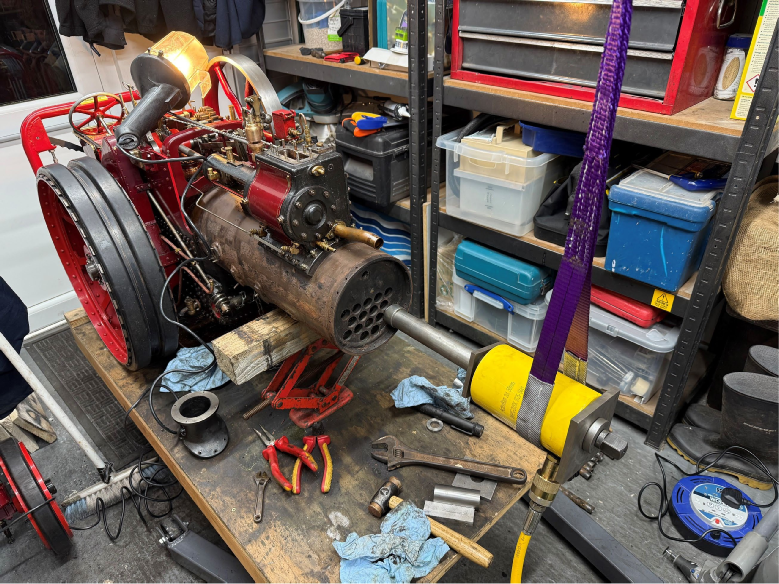
The bottom row did give me a few problems, due to their position it I needed to remove the smoke box.
One option would have been to cut the smoke box door ring, I have seen this done but was not an option for me, Luckly the original maker had used rivet nuts so it just meant some disassembly, not a major issue but would have preferred not to.
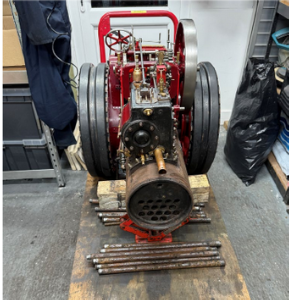
Finally, all16 tubes removed.
The next stage was to book the boiler inspector to complete a general inspection and shell measurement. The general condition of the inside looked very clean considering, so a visit was booked.
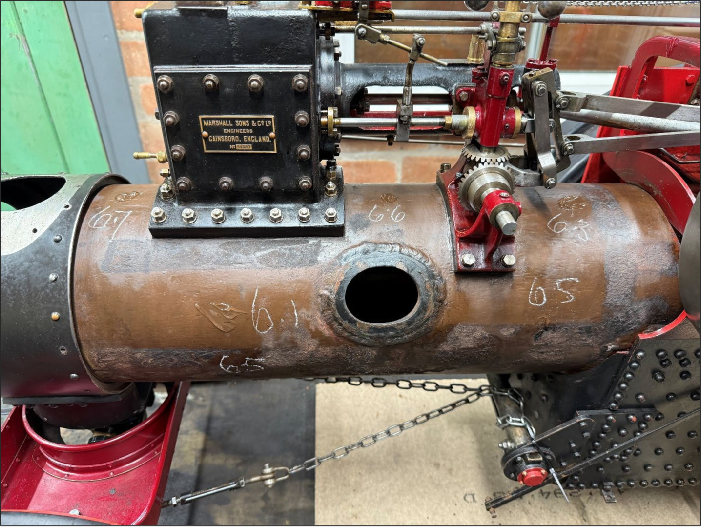
Various measurements were taken throughout the shell and everything was deemed ok so I was given the thumbs up to continue.
Replacement 3/4” tube of the correct grade arrived from the suppliers which also came with all the correct paperwork and material certification.
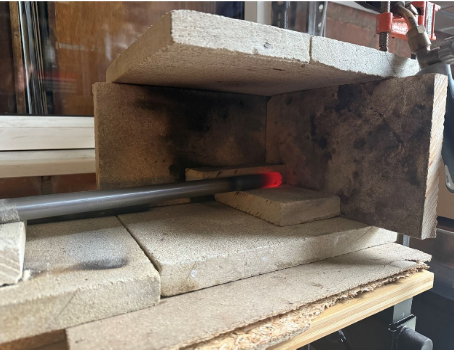
The tube was cut to the correct length, machined on the ends to true everything up then finally annealed.
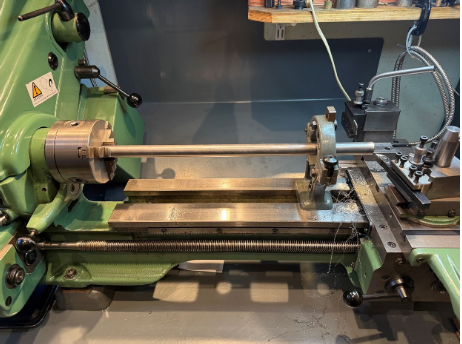
Turning the tubes to the correct length.
Annealing the tubes to help with
expanding
Some of the finished tubes after
heat treatment and polishing
(both the OD and the bore)
Refitting the tubes
I decided to turn the engine onto its side as I thought this would give better access to expand the tubes and to check everything was ok.
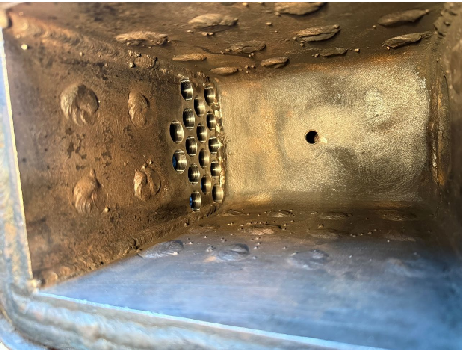
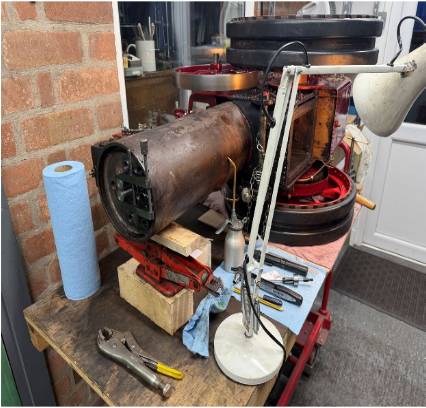
Tubes clamped in pairs with toolmakers clamps whilst I expanded the firebox end.
A smear of oil was placed around each tube whilst fitting, once the tube was expanded correctly a clean ring of oil could be seen around the joint.
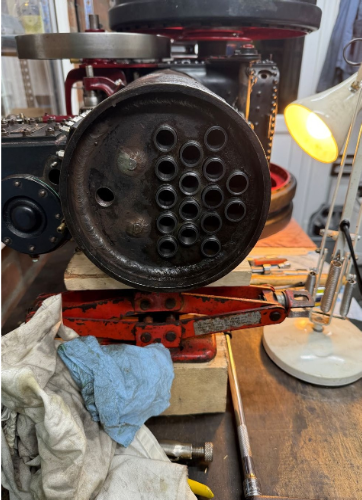
Smoke box showing new tubes fitted.
Hydraulic test
This involved taking the boiler up to 180 psi for 30 minutes.
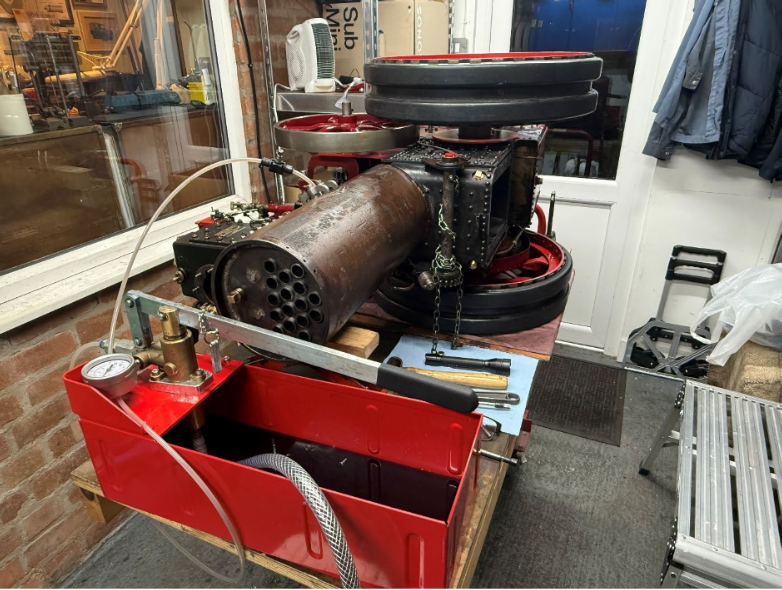
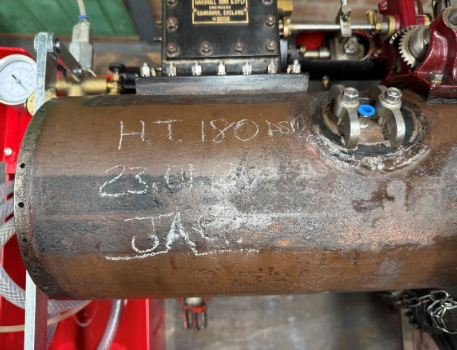
Except for a couple of drips, which were soon corrected, the boiler held fast at 180psi for 30 minutes.
Re-assembly
At this point I took the opportunity to give the boiler barrel a coat of red oxide paint as this area is subject to the most trapped moisture.
Also thought I would give the smoke box and chimney a fresh coat of paint.
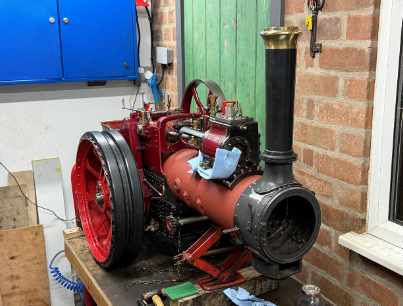
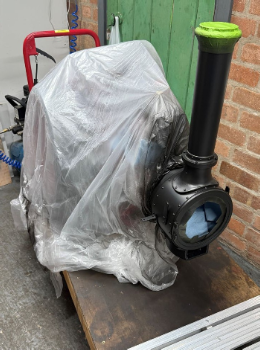
Boiler barrel coated in red oxide primer, smoke box and chimney prepped and ready for paining.
Final stages including re-lagging the boiler with two layers of glass fibre lagging, wooden strips and finally the steel cladding.
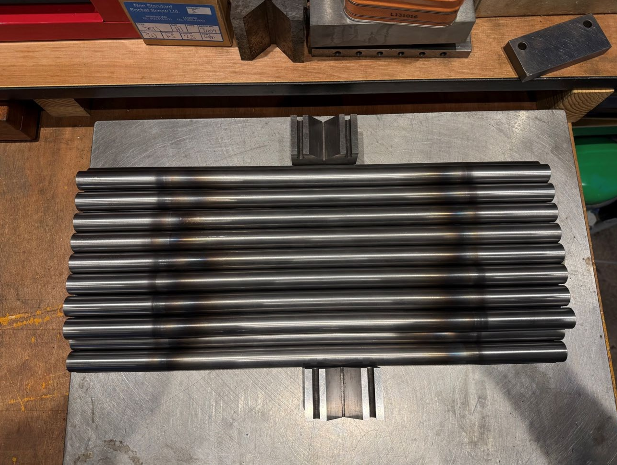
Some of the finished tubes after heat treatment and polishing (both the OD and the bore)
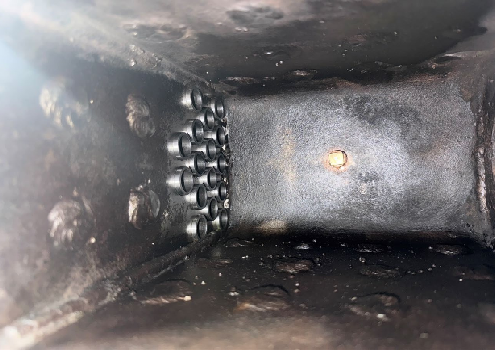
Inside the fire box after cleaning and polishing the tube holes.
Fusible plug removed as this was to be replaced
Inside the fire box after fitting tubes.
Fusible plug replaced